
Blog details
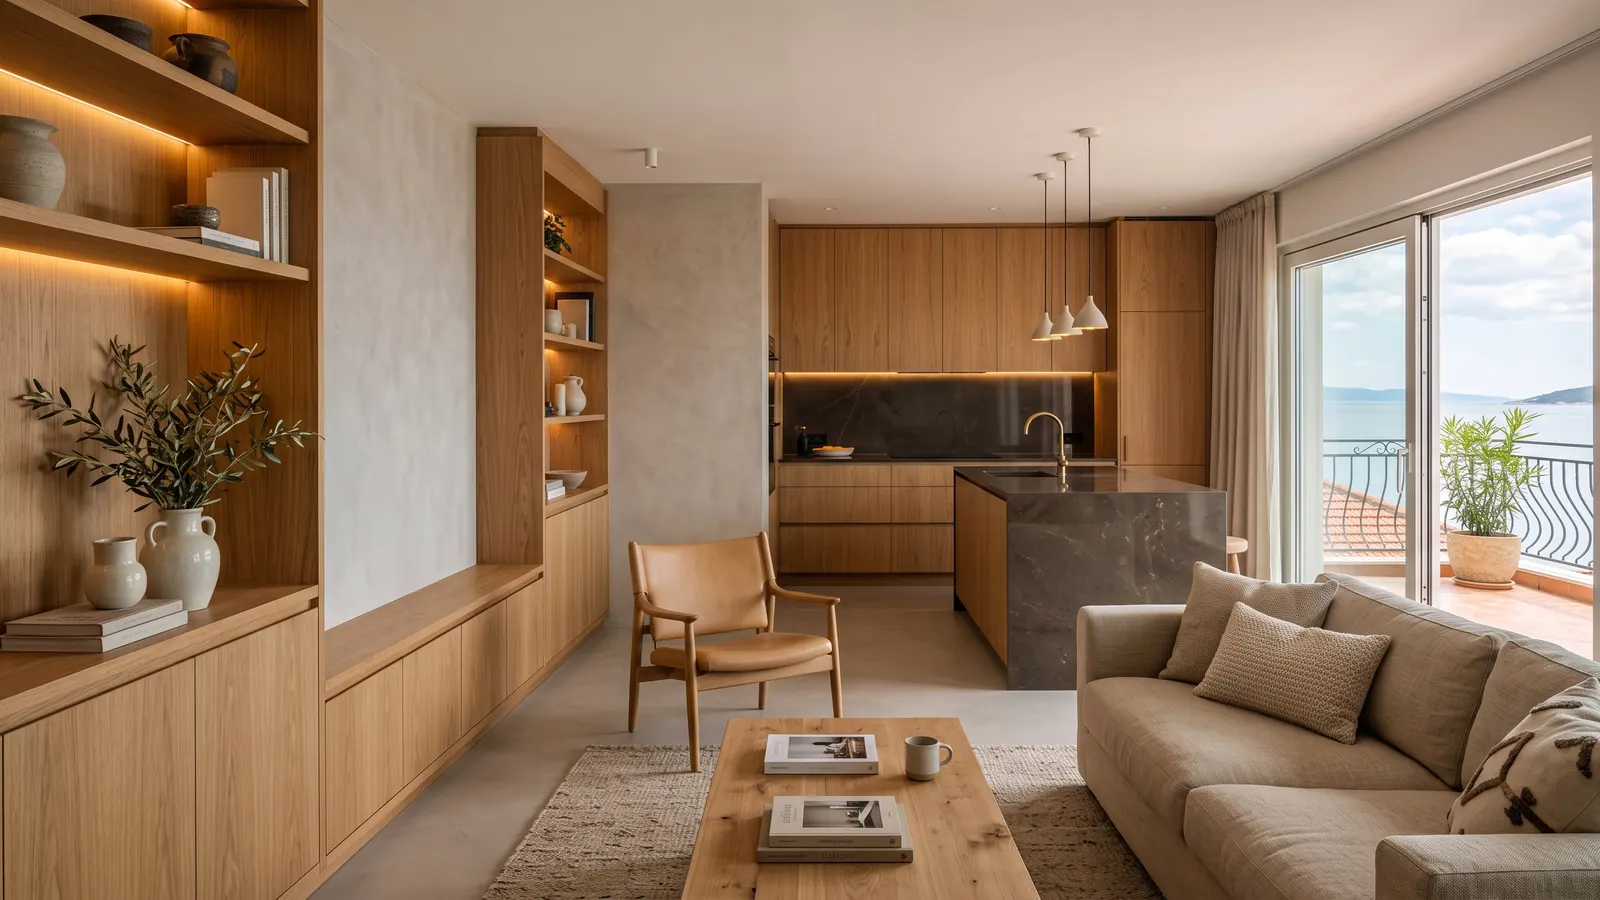
Apartment renovation in Croatia: build a room-by-room finish schedule
A finish schedule turns interior selections into comparable quotes, purchase dates and site instructions. It connects each room, surface and product to a quantity, specification, approval and installation dependency.
List every room and finished surface
Create rows for floors, skirting, walls, ceilings, doors, built-in furniture, worktops, sanitary equipment, switches, visible fittings and paint systems. Name the exact area or room instead of writing one generic material line for the whole apartment.
Define performance before brand and colour
Record dimensions, substrate requirements, slip or moisture suitability, cleaning needs, edge treatment, installation method and acceptable alternatives. The designer can then compare appearance without allowing a visually similar but technically unsuitable substitution.
Add quantities, waste and lead times
Measure net quantities, then state the agreed waste allowance separately. Mark approval date, order deadline, expected delivery and storage needs for tiles, flooring, doors, lighting, sanitary equipment and custom furniture so procurement follows the construction sequence.
Coordinate interfaces between trades
A floor finish changes thresholds, door leaves, kitchen plinths and bathroom transitions. Tile thickness affects drains and profiles; concealed fittings need compatible rough-in bodies. Link each finish to the drawing or detail that controls its junctions.
Control samples, approvals and handover
Keep one approved physical sample or signed product record for each critical finish. Log who approved it and when, photograph delivered labels, check batches before installation and retain care instructions and spare quantities at handover.
Apartment Renovation in Croatia
Complete apartment renovation with one responsible partner
Explore Apartment Renovation in Croatia