
Facade Insulation (ETICS): Crucial Checks Before the Plaster Goes On
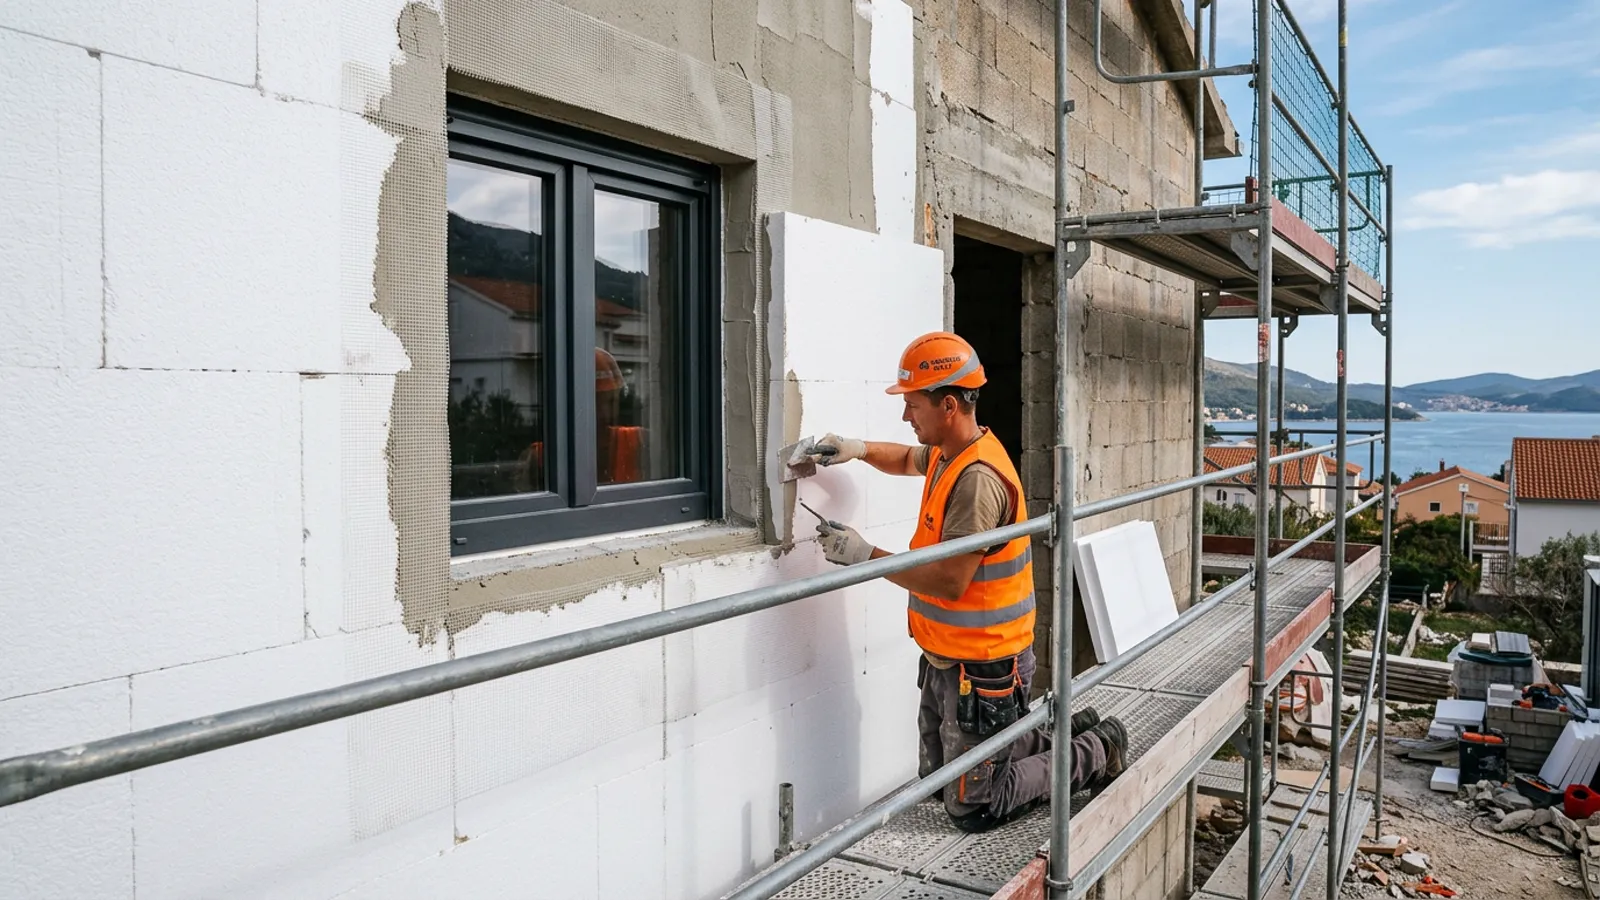
Applying a thermal insulation system (ETICS) to your facade is a major investment. However, simply choosing thicker insulation will not guarantee energy efficiency if critical installation details and thermal bridges are neglected.
The Myth of Insulation Thickness
A common misconception in house construction is that simply applying a thicker layer of EPS or mineral wool automatically guarantees a highly energy-efficient home. While thickness matters, the overall performance of an External Thermal Insulation Composite System (ETICS) is dictated by its weakest points. If thermal bridges at window junctions, balconies, and the base plinth are not resolved, a significant amount of heat will bypass the thickest wall insulation, leading to energy loss and potential condensation issues inside.
Surface Preparation and Adhesion
Before the first insulation board is applied, the substrate must be properly prepared. The wall must be clean, dry, and structurally sound. For masonry, applying a suitable primer ensures proper adhesion. The adhesive itself must be applied using the 'strip-and-point' method (a continuous ribbon of adhesive around the perimeter and several dabs in the center) or full-surface coverage. Spot-bonding alone (just dabs of adhesive) allows air to circulate behind the boards, reducing thermal performance and increasing the risk of fire spread in the cavity.
Board Placement and Joint Discipline
Insulation boards must be installed tightly together in a staggered, brick-bond pattern. Continuous vertical joints are a critical error. Gaps between boards should never be filled with adhesive or base coat mortar, as this creates direct thermal bridges. Instead, any gaps larger than 2mm must be filled with compatible insulating foam or slivers of the insulation material itself.
Mechanical Anchoring (Doweling)
While adhesive provides the primary bond, mechanical anchors (dowels/tiplovi) are essential for long-term stability, especially against wind suction loads on taller walls and edges. Anchoring should typically be done after the adhesive has sufficiently cured. Ensure the correct type of anchor is used for your specific wall material (concrete, hollow brick, aerated concrete) and that the anchor heads sit flush with the insulation surface, or are counter-sunk and covered with an insulation plug (cep) to prevent thermal bridging and visible spotting on the final render.
Window and Door Junctions
Window reveals are notorious for thermal bridging. The main wall insulation must overlap the window frame, and dedicated sealing tapes or expanding profiles (APU lajsne) must be used at the junction between the render and the window frame. This ensures a watertight, flexible seal that accommodates thermal expansion without cracking. Proper corner reinforcement meshes must also be applied diagonally at the corners of all openings to prevent stress cracks.
Base Plinth and Moisture Protection
The lowest section of the facade (the plinth or sokl) is exposed to splashing water, mechanical impact, and ground moisture. This area requires a specialized, moisture-resistant insulation board (such as XPS or high-density EPS) and dedicated waterproofing, starting from below ground level. A starter track (pocetni profil) provides a level base and protects the bottom edge of the main insulation layer. Ensuring this transition is correctly detailed is critical to preventing rising damp. Managing these details is a core part of our house construction services. For professional support on your project, contact us.
House Construction in Croatia
Planning, coordination and execution control for new houses and villas
Explore House Construction in Croatia